Using local LLMs for Obsidian Smart Connections in WSL2
Table of Contents
Introduction
Efficient knowledge management is crucial for staying organized and productive. Obsidian.md , a powerful note-taking app, offers the Smart Connections plugin to enhance your workflow using local large language models (LLMs).
In this article, I will guide you through setting up the Obsidian Smart Connections plugin with local LLMs via Ollama on WSL2. By the end, you will have an AI-enhanced note-taking experience that keeps your data secure and private. Let’s get started!
Install Ollama in WSL2
Before we begin, it is assumed that you have already a Linux distribution installed on WSL2. For this tutorial, I will use Ubuntu. Installing Ollama is straightforward and can be done with a single command from the official documentation .
To install Ollama, open your terminal and run the following command:
curl -fsSL https://ollama.com/install.sh | shOnce the installation is complete, you can verify that Ollama is installed by running:
ollamaThe output of this command should display the help information without any errors. This confirms that Ollama is set up properly and ready to use, allowing us to move on to configuring it for Obsidian Smart Connections.
Set up Obsidian.md Smart Connections
Obsidian is a powerful note-taking and knowledge management app that lets users create a network of interconnected notes. The Smart Connections plugin enhances this by using AI to suggest connections and enabling users to chat with their notes, making it easier to discover relationships and insights.
Install Smart Connections plugin
We first have to enable community plugins in Obsidian.md:
- Launch the Obsidian app on your device.
- Click on the settings icon (gear icon) in the lower-left corner of the window.
- In the settings menu, find and click on the “Community Plugins” tab.
- Disable restricted mode.

After enabling community plugins, you now have access to a wide variety of helpful and powerful plugins developed by the community. Let’s install Smart Connections:
- Click on the “Browse” button within the “Community Plugins” section.
- Type “Smart Connections” in the search bar.
- Click on the “Smart Connections” plugin in the search results and click the “Install” button.
- Once installed, click the “Enable” button to activate the plugin.
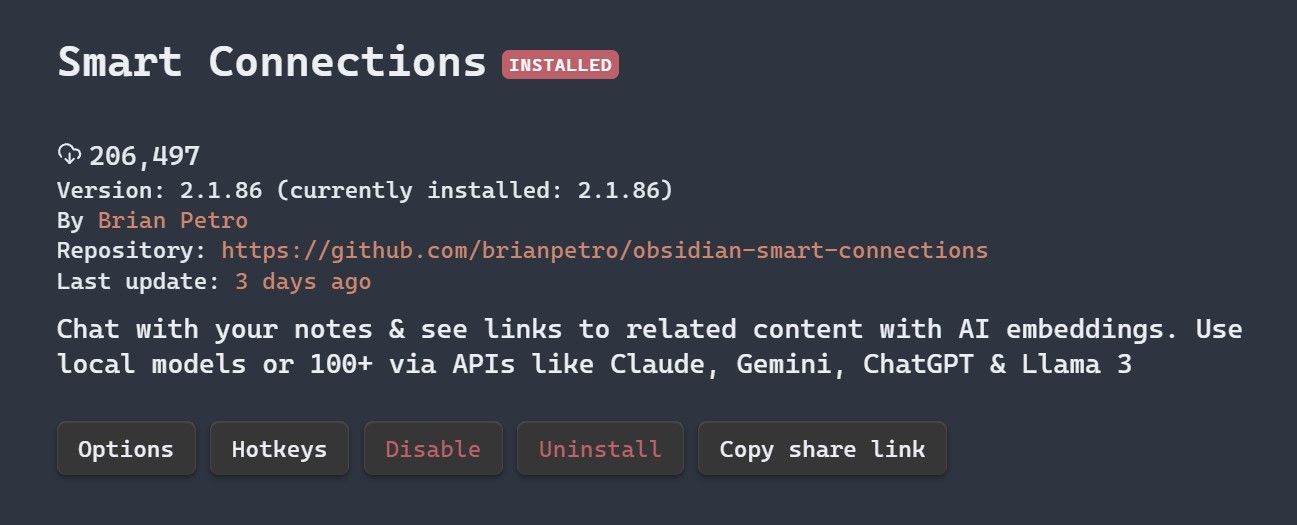
With the Smart Connections plugin installed and enabled, you are now ready to integrate it with Ollama to leverage the power of local LLMs in your note-taking process.
Serve local LLM via Ollama
Now that we have Ollama installed and the Smart Connections plugin set up in Obsidian.md, the next step is to install a local LLM via Ollama and serve it expose to Obsidian.md.
Ollama offers a variety of models that you can download from their official library . For this tutorial, I will use gemma2 8B .
Make sure your computer meets the resource requirements for running the selected model, as some models, especially those with a lot of parameters, can be quite resource-intensive.
Open you WSL2 shell and run the following command to download the gemma2 model:
ollama pull gemma2After the model is downloaded, you need to start Ollama and serve the model over HTTP to allow the Smart Connections plugin to access the model.
export OLLAMA_ORIGINS="app://obsidian.md*"
export OLLAMA_HOST="0.0.0.0:11435"
ollama serveThis should serve your Ollama models on the port :11435 for requests originating from Obsidian.md.
Connect Smart Connections to Ollama
Now that you have the Ollama API up and running with the gemma2 model, the next step is to configure the Smart Connections plugin in Obsidian.md to connect with this local LLM.
The settings provided here are based on a powerful PC configuration . If your computer has different resource capabilities, you may need to adjust the settings accordingly to ensure optimal performance.
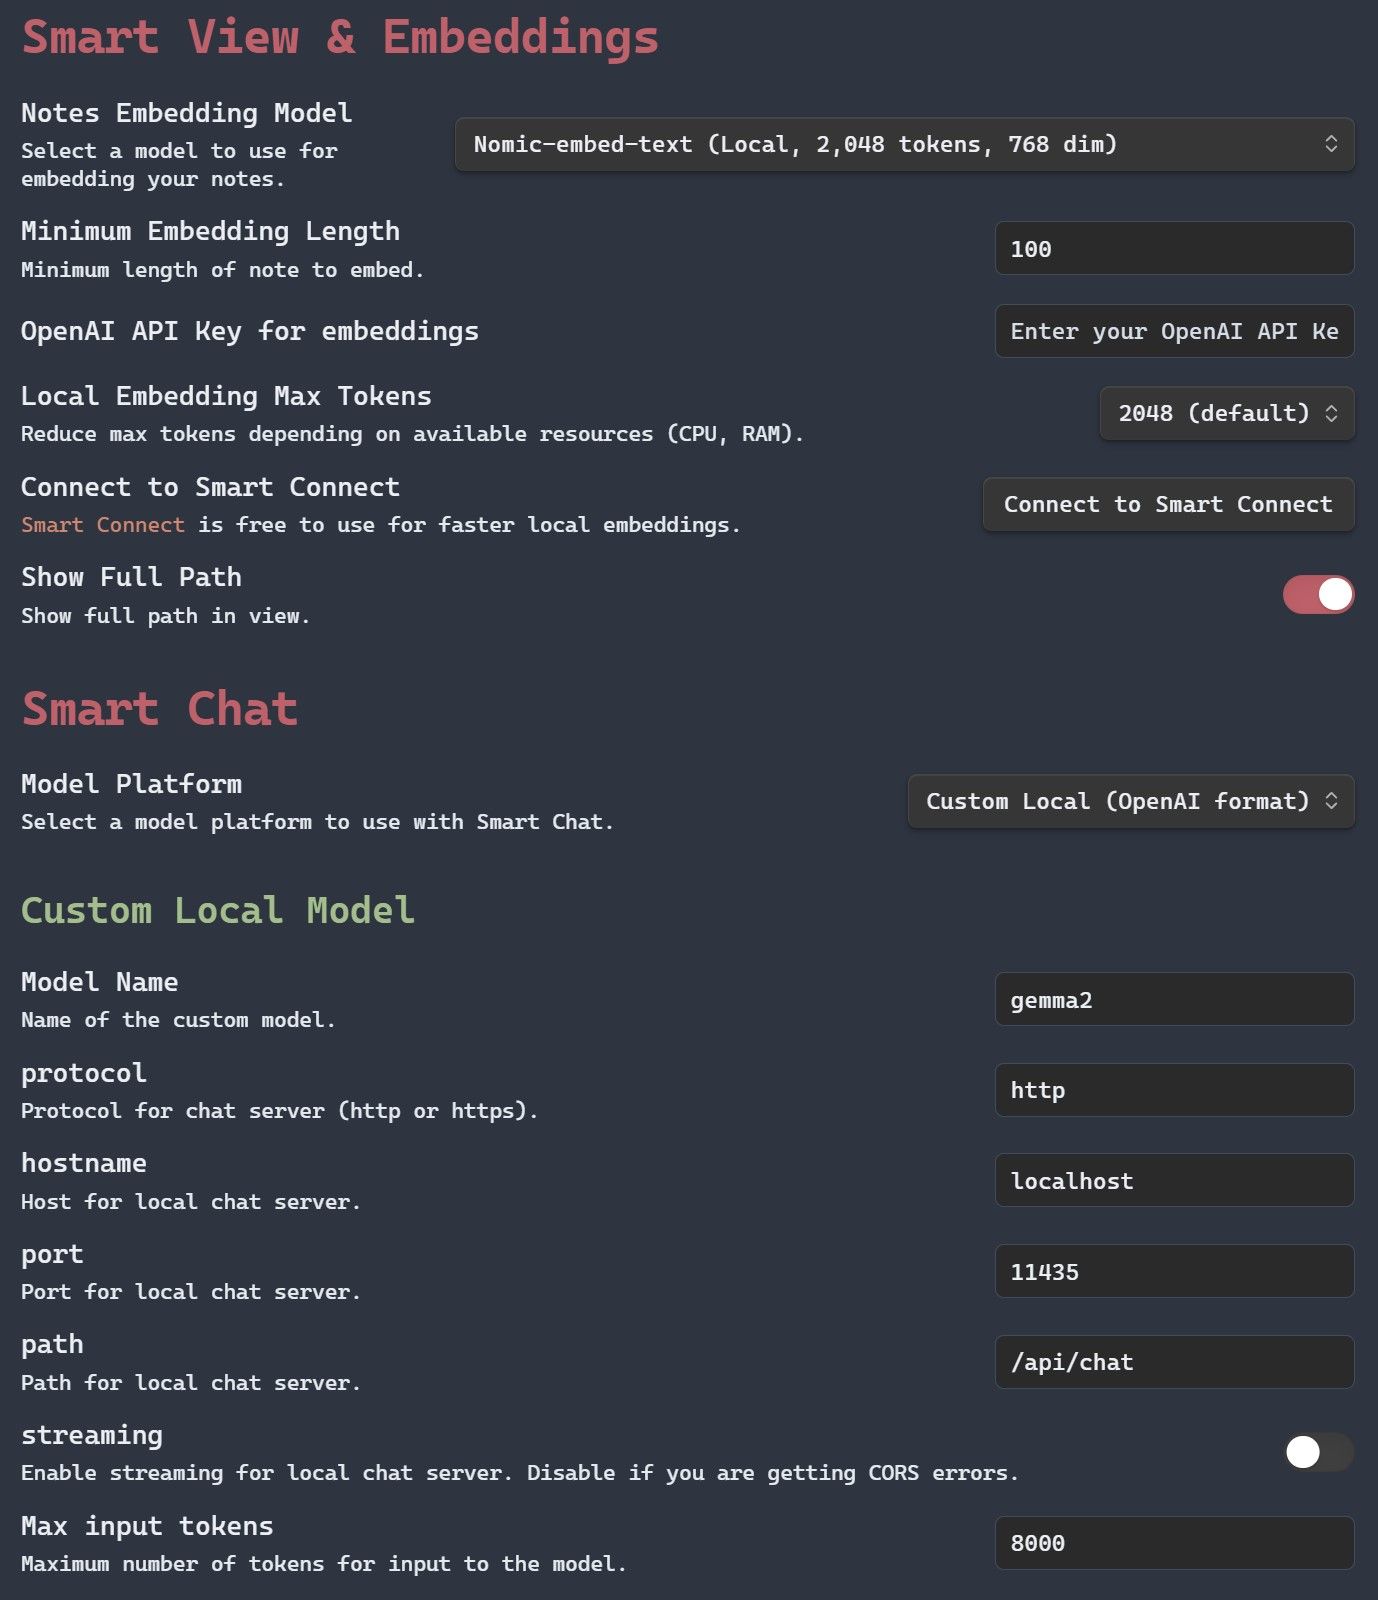
- Select “Smart Connections” plugin in the “Community Plugins section in Obsidian.md.
- Click on the “Options” button.
- Select “Nomic-embed-text” from the “Notes Embedding Model” dropdown to use a local embedding model.
- Select “Custom Local (OpenAI format)” from the “Model Platform” dropdown to configure a custom local model.
- Set
gemma2in the “Model Name” field. - Set
httpin the “Protocol” field. - Set
localhostin the “Hostname” field. - Set
11435in the “Port” field. - Set the path to
/api/chatin the “Path” field.
After configuring the plugin, it will begin processing all your existing notes and generate embeddings from them. This process may take some time depending on your plugin settings and computer resources. Please be patient as the plugin works through your notes. Once the processing is complete, you will be able to utilize the full power of Smart Connections, with intelligent and context-aware suggestions enhancing your note-taking experience.
Conclusion
Hopefully, this guide enhances your note-taking experience, helping you discover relationships and gain deeper insights from your notes. It has certainly worked for me.